Monday 30 June 2014

Just For U Elaine

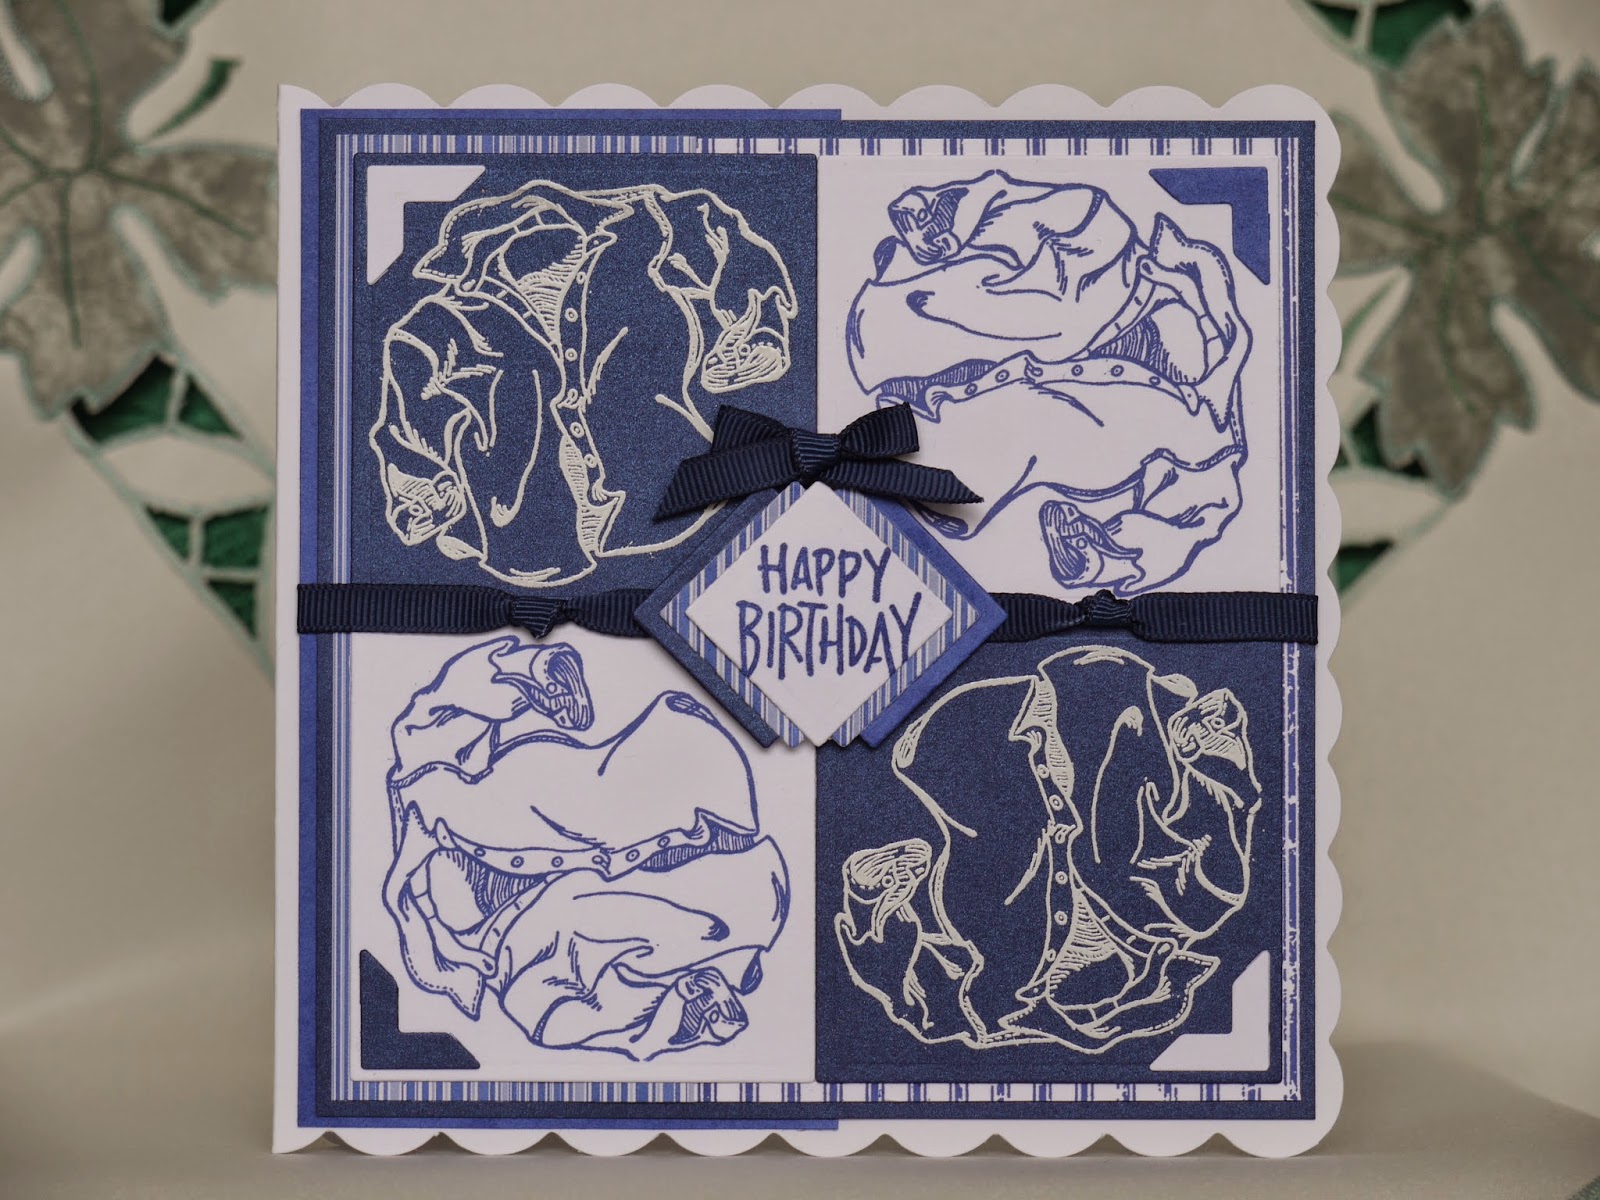
It was our Elaine's birthday back in May and this is the card I made for her.  I'd really liked how the colour combination of the Just For U card I'd made for Brenda, a crafting friend, had turned out so I cased it for Elaine.  Apart from the paper piecing on the letters being different the only other differences are the coloured insert and purple brads.


The patterned papers are from the Nitwit Collections Promises and Snow Princess Solids and plain card in toning colours were chosen for the backing layers and the flower embellishments.  The Nitwit Collections are ideal to use with all their matching papers in colour and design.
The flower embellishments were made using a mixture of Marianne ribbon dies, layered flower dies and stitching dies with Card Candi from Craftwork Cards in their centres.  The little flowers were punched using the X-cut small flower punch and have crystal dot peel off centres.


The Just for U was stamped and embossed on to the Snow Princess patterned paper using VersaMark ink and Disco Black embossing powder from Stampendous.  It was then stamped and embossed on to two of the patterned papers from the Promises Collection.  Alternate letters were cut from each patterned paper design and paper pieced on to the main topper.  The topper was then dry embossed using the Cuttlebug Falling Snow embossing folder.  This welds the paper piecing to the card and adds texture which I hope you can see in the picture.  A stitched border was added before the topper was framed and layered using square Grand Nestabilities dies.


A stitched border was also added to the other two panels on the card and along with the flowers, ribbon , a bow and brads were the extra embellishments.


Elaine's birthday landed on a Sunday this year so she and Andy set off for a weekend stay in Spean Bridge.  One of their aims for the weekend was to photograph the steam train crossing the Glenfinnan Viaduct.  They'd been on the train journey last year but wanted to capture a photo of the train whilst crossing. Three factors were making this aim difficult as Elaine had a sore hip, the weather over the weekend was wet and the train was still following a Monday to Friday timetable.  Monday morning was the only opportunity for the photo shoot.
This is a picture of Elaine during the soggy reconnaissance trip to work out the best viewing point.


This was the result.

 
  Happy birthday girl.


There are more happy photos of Elaine to come next time.  Thanks for reading today.

Friday 27 June 2014

Two Little Boys

Just recently Wilma, one of the ladies in our Tuesday crafting group, became Grandma to twin boys and this is the card I made for her.  At the last craft meetings at Janet's and Carol's both groups have been making pop up boxes and there have been some lovely cards made on birthday, baby and graduation themes.


As well as using lemon and blue card stock patterned papers from the Cuddly Buddly download A Patchwork of Papers Blue and papers and elements from the Forever Friends Collector's Edition CDs were used.  Yellow and Blue stitching were added around the layered card and papers to add an extra frame.  The verse on the front was created on the computer and cut and layered using a Spellbinders labels die.


This card was made using a mixture of old and new crafting tools.  The new items used were the Marianne bib on the back of the card and the baby shoe dies used on sides of the box.  To make an extra top layer on the bib I drew around the inside of the die on to white card, cut it out and embossed it with a little hearts embossing folder.  The little bow from this die set is really cute and sponging ink through the die gives the bow more dimension


Marianne ribbon and stitching flower dies were used to make the backing layers for the framed ducky on the side panels.  The circle frame was made using Stampin' up's inch and three quarter inch punches. 


Buttons and bows was the theme for the pop up acetate strips.  The bows were die cuts from the Marianne bib die set and the buttons were cut from glitter card using a Quickutz die.  

The two little baby faces were made with an Eline Pellinkhof brass stencil from The Stencil House.  This was the old item used and one of the first purchases I made from Create and Craft when Alan and Barry were the presenters.  The light box was dusted off and after embossing the first face blue ink was rubbed over the embossing whilst the stencil was still in place.  To make the second face the stencil was turned over to make a mirror image of the first one.  Spellbinders nestabilities star dies were used to die cut and layer them.

 
A message was printed from the computer and attached to the back panel.  The beauty of this style of card is that it fold down flat and the flaps fold up to protect the pop up parts so that it can be safely posted.


Hope you've enjoyed this tour around my first pop up box.  Thanks for reading today.
Liz xxx

I'd like to enter this card in the following challenges


Wednesday 25 June 2014

Nitwits Baby Girl

The last post was about Taylor's fifth birthday card but this one is about her baby sister Kendall who arrived on the last day of April to share a birthday month with lots of the family.  She had been due on her brother and Mum's birthday but obviously decided to have a date all to herself.


The layout for Kendall's card was taken from the baby boy card I made for her cousin Joe who arrived earlier this year. Along with shades of pink card stock the patterned papers and images used are from the Nitwit Collections Tickled Pink and Thimbles 'n Threads and were resized using My Craft Studio.   Pink stitching was added around the layered card and patterned papers to add an extra frame.  


Images from the Tickled Pink collection were also used to decorate the panel behind the front of the card.  Spellbinders circle dies and a Stampin' up 1" circle punch were used to frame and layer them.  These cute characters remind me of the Cabbage Patch dolls which were around when Elaine was little.  Satin ribbon, a bow and corners cut using a Quickutz die were added as embellishments.


On the inside a message and verse were printed from the computer and die cut and framed using a Spellbinders Labels 10 die and Nestabilities and Grand Nestabilities circle dies.  The little heart embellishments were cut using Spellbinders plain and scalloped heart dies.  Quickutz dies were used to cut the corner and button embellishments. Pink brads and self adhesive pearls were the added extras.


There were enough bits left over from the card to make a matching tag to add to the parcel.

Here's a picture of Kendall just home from hospital with her big brother Rory and big sister Taylor. 


This one was taken more recently when their Granny visited from Orkney.


Thanks for reading today
Liz xxx 

I'd like to enter this card in the following challenges
Bunny Zoe's June Challenge - Layers
Card Mania Challenge 49 - Babies
Crafting From The Heart Challenge 24 - Anything Goes
Cutie Pie Challenge 72 - Girls, Girls, Girls
A Gem of a Challenge 122 - For A Child
613 Avenue Create Challenge 77 - Anything Goes with option of using Pink
Crafty Catz Challenge 236 - Stitching

Monday 23 June 2014

Taylor's 5

Last month saw the fifth birthday of Taylor who's a grand-niece.  It's hard to believe she's this age already and off to school after the summer holidays.  For Taylor's card I went back to a Create and Craft card kit to make this card.
 

The inspiration for using these kit cards in this way came from watching Nancy Watt demonstrating on Create and Craft.  By chopping down, layering, adding embellishments and then some sparkle with glitter, mirror card or glitter card she created a completely new card with the basic elements from the kit card.


The front of the card was chopped off and layered on to patterned papers and card stock and then mounted on to a 5"x 7" scalloped card.  The patterned papers used for this card came from another pack of Create and Craft card.  A stitched border was added to the kit card and the layers behind it to add extra framing. 

The little image from the back of the kit card was framed using Spellbinders circle dies and added to the back of the card.  From this angle you can see the depth of the decoupaged Cat.

 
To personalise the card for Taylor a sentiment was printed from the computer and punched and layered using Stampin' up's oval and scalloped oval punches.  The number 5 was also printed from the computer and die cut using spellbinders circle dies.  
Self adhesive green pearls and grosgrain ribbon were added as embellishments and to finish off an insert was printed from the computer and added to the inside.
 
Here's a photo of Taylor enjoying a day out.
 
 
Thanks for reading today.
Liz xxx
 

Friday 20 June 2014

Origami Box in Aqua

Shades of aqua are my favourite to use at the moment and when Alan made a trip to Orkney I took the opportunity of making this origami box for Mum as I knew it had a better chance of arriving in one piece rather than posting it.  It was also full of home made fudge so it ended up being quite heavy.  To find out how to make this origami box base then follow the following link to find an excellent video tutorial.  http://www.card-making-magic.com/origamiboxtutorial.html.


The base of this box was made from a sheet of 12"x 12" paper from Stampin up.  The lid and sides of the box were decorated using Marianne stitching dies, layered flower dies and the English Rose die which are my favourite ones at the moment.  A darker aqua ink was sponged over the light aqua roses.  The small flowers were punched using an X-cut small flower punch with peel off stickers added to their centres.  A few self adhesive pearls and satin ribbon were the other embellishments.


Dark and light aqua card were used for the layers on the lid, the lining layers inside the box and to cover the base of the box.  Nestabilities and the first die from the Grand Nestabilities Labels 1 sets of dies from Spellbinders were used to cut these layers.  The lace edges on the triangle flaps were made using a Stamping up border punch. Nestabilities circle dies were used to make the holder for the ribbon handle.


Hope you have a good weekend and thanks for reading today
Liz xxx

Wednesday 18 June 2014

Rennie Mackintosh Style from Sizzix

At the beginning of the year Sizzix had two sales, which a few of us in the two crafting groups couldn't resist, and this is the birthday card I made for Elaine and Ian to give to their Granny using one of my purchases.


The Sizzix framelits die set Ironwork was used to cut different coloured card stock and patterned papers to build up the main topper.  Inspiration first came from this card I saw on the Graphic 45 blog and also the birthday card I received from Carol.
                                            
                                Clare Charvill, Graphic 45, card, tutorial, Secret Garden, gift


As well as the plain card stock patterned papers from the Nitwit Collections Romance and Roses and Snow Princess and the Cuddly Buddly Cottage Collection in Aqua were used. 


The door panel of the topper was embossed using a Cuttlebug rose embossing folder and decorated with a little floral wreath framing a sentiment created on the computer.  Also added were a bow and a black self adhesive pearl for the door knob.  The wreath was die cut using a Marianne die and decorated with gems and little flowers which were waste from using a Multi-Shaper punch.  A stitched border and a few more little flowers and gems were used to decorate the backing layers of the topper.


The message behind the door panel was stamped using a Hero Arts stamp and black ink and inside the card was an insert with a verse printed from the computer.

These are the two cards we sent Mum.


Thanks for reading today 
Liz xxx

Monday 16 June 2014

Nine Squares for Mum

It was back to the nine squares layout to make a birthday card for Mum and using my favourite colour at the moment.  Her card is cased from the one's I made for three Aunties back at the start of the year which were based around Stampin' up's inks Island Indigo and Baja Breeze.


Stampin' up sets Stippled Blossoms and Baby Blossoms and a script stamp from the Charming set were used to make up the small toppers.  Using the second generation stamping technique for some of the images all were stamped on to pale green cardstock.  The two floral stamp sets use the 2 step stamping technique and Stampin' up's stampamajig was used as a positioning guide to do this and also to stamp the script stamp over two of the corner squares.  The corner squares were also embossed using a Cuttlebug rose embossing folder.


Matching up with the Stampin' up inks were patterned backing papers printed from the Nitwit Collection Snow Princess Solids, plain card from W Enterprises, satin ribbon, self adhesive pearls from The Hobby House and thread to stitch the grid for the square toppers.

 
The nine stamped squares were die cut using a Spellbinders square die.  Backing layers were cut from using a Spellbinders scalloped square die and, after being layered up, green thread was wrapped around their corners.  These nine squares made up the top tier of the card
The middle tier was the backing panel for the squares which was shades of green card and patterned papers layered up with a grid of nine five centimetre squares stitched on top of the patterned paper.  The stamped images were attached to the centres of these squares using foam pads.  Foam pads were also added to the back of the completed middle tier before it was attached to the bottom tier of the card.

 
The bottom tier was also made up from layers of green cardstock and patterned papers with ribbon wrapped around the corners. Once the layers had all been put together the other embellishments added were self adhesive pearls, a bow, and peel off butterflies made in to 3D embellishments by being attached to acetate.


The sentiment was printed from the computer and die cut using Spellbinders circle die.

Thanks for reading today
Liz xxx

Friday 6 June 2014

Shirt in a Spin

This is a quick and simple card I made recently for another brother-in-law.


The shirt images were made using a stamp from Hampton Arts called Scattered Shirt.  Versafine Majestic Blue ink was used to stamp the images on to white card and on to the blue card it was stamped with Versamark ink and then embossed using white detail embossing powder and this gave positive and negative images to work with.  The shirts were die cut using a Spellbinders square nestabilities die and then taped together to make a large topper.  I rotated the images so that it continued the scattered look.


The sentiment in the middle was made using a stamp from Hero Arts and majestic blue ink and then die cut and layered using Spellbinders square nestabilities dies. 


The blue striped paterned paper used in the backing layers came from the Papermania Burleigh Blue collection by Jesse Edwards.  This is a lovely collection of papers with designs suitable for both feminine and masculine projects.  The white striped backing paper was made by stamping the canvas stripe Hero Arts stamp on to white card using Versafine Majestic Blue ink.  


Dark navy grosgrain ribbon and corners cut using a Quickutz die were the added embellishments to this card.

Thanks for reading today
Liz xxx

Tuesday 3 June 2014

Happy Birthday Andy

This is another male card I've made recently, which was for my brother-in-law, and uses the Woodware large word stamp Happy Birthday.


A pearlised card with blue and brown shades in it, brown card and mint pearlised card were used along with three different patterned papers from Dovecraft's Masculine Papers 8"x 8" paper pad to make up the layers on the card.

The Happy Birthday stamp was stamped and embossed using VersaMark ink and Disco Black embossing powder from Stampendous on to one of the patterned papers.  It was then stamped and embossed on to two different patterned papers and alternate letters were cut from each patterned paper design and paper pieced on to the main stamped image.  Once completed the topper was embossed using the Cuttlebug Falling Snow embossing folder.  This welds the paper piecing to the card and adds texture which you can see in the picture below.  A stitched border using a black thread was added to frame the sentiment before layering it up to make the main topper.


The topper was attached to the card using foam pads to raise it over the other backing panels on the card.


Black thread was also used to add a stitched border to the other backing panels.  Thin brown satin ribbon, which had been cut from the shoulders of a top, and gold brads were the added extras to this card.


Although the patterned papers all toned, paper piecing patterned paper on to patterned paper didn't really work as the letters ended up being camouflaged rather than highlighted. I think it needs to be patterned letters on a plain background or plain letters on a patterned background to be most effective.

Thanks for reading today
Liz xxx

I'd like to enter this card in the following challenges
Crafting From The Heart Challenge 21 - Anything Goes
Incy Wincy Designs Challenge - Something for the Men in your Life
Use Your Stuff Challenge 138 - Patterned Paper
Bearly Mine June Challenge - One For The Boys
Country View Crafts Challenge - Only Men Allowed
RRR Challenge 96 - Masculine with Ribbon or Trims
Allsorts Challenge 261 - For The Guys
My Sheri Crafts Challenge 134 - Anything Masculine
Polkadoodles Challenge Week 22 - Men on our Minds
CRAFT Challenge 261 - Paper Piecing
Delightful Challenges - It's a Guy Thing