Wednesday, 30 April 2014

A Diamond Pair

As well as being asked to make a card for Molly to give her husband Dod on the occasion of their Diamond Anniversary I was also asked by a friend Lilian to make a card for them.  It's through Lillian that I've come to know Molly and these two couples are good friends who get together to play whist every Friday night.  I felt I needed to make a card that was a bit special to reflect this friendship and this was the result.


I found it really difficult to choose a colour scheme for the diamond wedding cards without them starting to look like either a silver, ruby or golden anniversary card.  The patterned papers for this one was from the Cuddly Buddly download Cottage Collection in the Duck Egg colourway.  Stampin' up's Pink Pirouette and Marina Mist card and ribbon was used to tone with this.

The dates on the front topper were printed from the computer and then an Ornare stencil was used to prick the 60 between.  Rather than use the metal stencil directly each number was pricked on to thick acetate and this was used instead which meant the numbers could be placed exactly where you wanted them to go.  After stitching the 60 a frame was cut for the topper using Spellbinders diamond nestabilities dies.  The three little toppers to the side were made in the same way.  This diamond layout I'd seen on this post.


Peel offs and I don't get along as I never seem to get them straight but I'd got the idea in my head that I wanted to add a large gem swirl down the side of this card in a Sue Wilson style.  Not only was this a peel off on a large unwieldly scale it was my first attempt at using one of these but fortunately removing it from the backing sheet and attaching it to the card went more straight forward than I'd feared.  One of the smaller peel offs from the set was used on one of the small diamond toppers.  Single diamond gems, which are a lot more easy to control unless they jump for freedom as you try to remove them from the backing sheet, were also used to decorate the card. 


A stitched border was added to the two backing panels and the addition of paper flowers and roses were the final embellishments.  The verse below was printed from the computer and added to the inside of the card.
 
Twenty-five years of bliss had proved,

You’d made a good selection

Reaching silver, you went on to Fortieth

When a ruby joined your collection.
Another decade flew by

In matrimonial happiness

You attained gold...the pinnacle

Of blissful weddedness.
And now you’re at a stage,

 Reached by very few

Sixty years brings diamond

Congrats to both of you.
But the “jewel” to be proudest of

 More than gold, or any other

Is undoubtedly the enduring love

You have for one another.


Just one more diamond card to share and that's the one I made for us to give them.

Thanks for reading today
Liz xxx

I'd like to enter this card in the following challenges
Craft-room Challenge - Roses and Romance
Deep Ocean Challenge 76 - Stitching True or Faux
Fan-Tastic Tuesday Challenge 33 - Floral
Use Your Stuff Challenge 133 - Flowers
Sugar Creek Hollow Challenge 85 - Tic Tac Toe  (Bling, Ribbon, Die Cut)
Blogger's Challenge - Bling It On
Cuddly Buddly Challenge 2 - Diamonds and/or Pearls

Monday, 28 April 2014

For a Diamond Husband

Recently I was given the honour of making a Diamond wedding card for a lady to give her husband.  I'd made cards for Molly to give friends and family before but this was an extra special one as it was Molly and her husband Dod themselves who were celebrating sixty years of marriage.  After lots of deliberation on colour and theme this was the final result.


The topper on the front of the card was decorated using the Anja Filigree Heart die set and Tiny Love Birds die from Marianne Creatables.  The sentiment on the centre heart was printed from the computer and attached to the centre of the filigree heart frame using foam pads.  Little gems were added around the frame, a silver heart peel off was added to the dangling heart from the Love Birds along with tiny pearls for their eyes and a blue satin bow was added to the filigree heart.  Layers of blue card and a backing paper printed from the Cuddly Buddly download A Patchwork of Papers Blue were used to make the base for the topper.


Each base panel of the card was made up from a layer of blue card, blue patterned paper and a layer of white pearlescent card embossed with a diamond and dot embossing folder.  The dots left exposed after the toppers were added had self adhesive diamond gems added to them.  

The panel behind the front of the card was decorated with smaller dies from the Filigree Heart Set with silver number peel offs added to the smallest heart.  Two blue hearts were die cut and layered off set behind the white heart to frame it and make it stand out from the background.  The Love Birds at the top of each panel were also double layered.  Spellbinders diamond nestabilities were used to cut the backing layers for the heart dies. 


On the inside a verse was printed from the computer and framed and layered using Spellbinders Grand Nestabilities circle dies and on the opposite side was a lined diamond panel for Molly to write her message to Dod.  The lined paper was created on the computer using the full stop and then die cut  and layered using Spellbinders diamond nestabilities dies.  This meant that it matched the ink colour used in the other printed pieces.  


Each panel of the card had silver brads and blue satin ribbon added to the top corners and a blue satin bow was added to the topper on each panel.

Molly and Dod had a good day and received lots of cards and presents from friends and family with even a card from the Queen.  Their story was even covered in the local press.  Hopefully they've gathered some more lovely memories to treasure.

Thanks for reading today
Liz xxx

I'd like to enter this card in the following challenges
That Craft Place Challenge - Anything Goes
The Squirrel and The Fox Challenge 68 - Use a Die Cut or Punch
We Do Doobadoo Challenge 4 - Embellish It
Bloggers Challenge - Bling It On
4CC Challenge 191 - Embossing
Crafty Creations Challenge 261 - White and one other colour
Little Red Wagon Challenge 234 - Count Me In
Natalie and Amy's Challenge 19 - Embossing
Crafting From The Heart Challenge 16 - Anything Goes
Crafty Bloggers Network April Challenge - Diecuts/Embossing 
Cuddly Buddly Challenge 2 - Diamonds and/or Pearls

Friday, 25 April 2014

Lemon and Blue, Just For You

It was a crafting buddy's birthday last month and it was back to the Woodware big word stamp Just For U to make this card for her.  At the last meet she said she liked yellow so I picked up on this to use on her card.


The layout for the card was cased from this Flower Power card and uses my favourite dies of the moment which are the Marianne stitching flowers, frames and leaves ones.


These flower embellishments use a mixture of Marianne dies layered up together with Card Candi from Craftwork Cards in their centres.  The little flowers were punched using the X-cut small flower punch and have crystal dot peel off centres.  I enjoy putting these flower embellishments together and deciding what colours to use on each layer.


The patterned papers used on this card are from the Cuddly Buddly download A Patchwork of Papers Blue and The Blue Pansy download from Fred She Said.  Pale blue and lemon cardstock were used along with these papers. Just for U was stamped and embossed on to the gingham paper using VersaMark ink and Disco Black embossing powder from Stampendous.  It was then stamped and embossed on to two of the other patterned papers.  Alternate letters were cut from each patterned paper design and then paper pieced on to the image on the gingham paper.  After that the whole thing was embossed using the Cuttlebug Falling Snow embossing folder.  This welds the paper piecing to the card and adds texture which I hope you can see in the picture.  A stitched border was added before the topper was framed and layered using square Grand Nestabilities dies.


A stitched border was also added to the other two panels on the card and along with the flowers, ribbon , a bow and brads were the extra embellishments.

Unfortunately I didn't realise that it was a special birthday for Lorraine or I might have added a number to the card.  She and her husband set off on holiday the day after her birthday and returned the day we were having our last meet so we haven't heard about her celebrations yet.  News to catch up on during our next meet.

Hope you all have a good weekend and thanks for reading.
Liz xxx

I'd like to enter this card in the following challenges

Wednesday, 23 April 2014

Tonic Dies and Card Kit

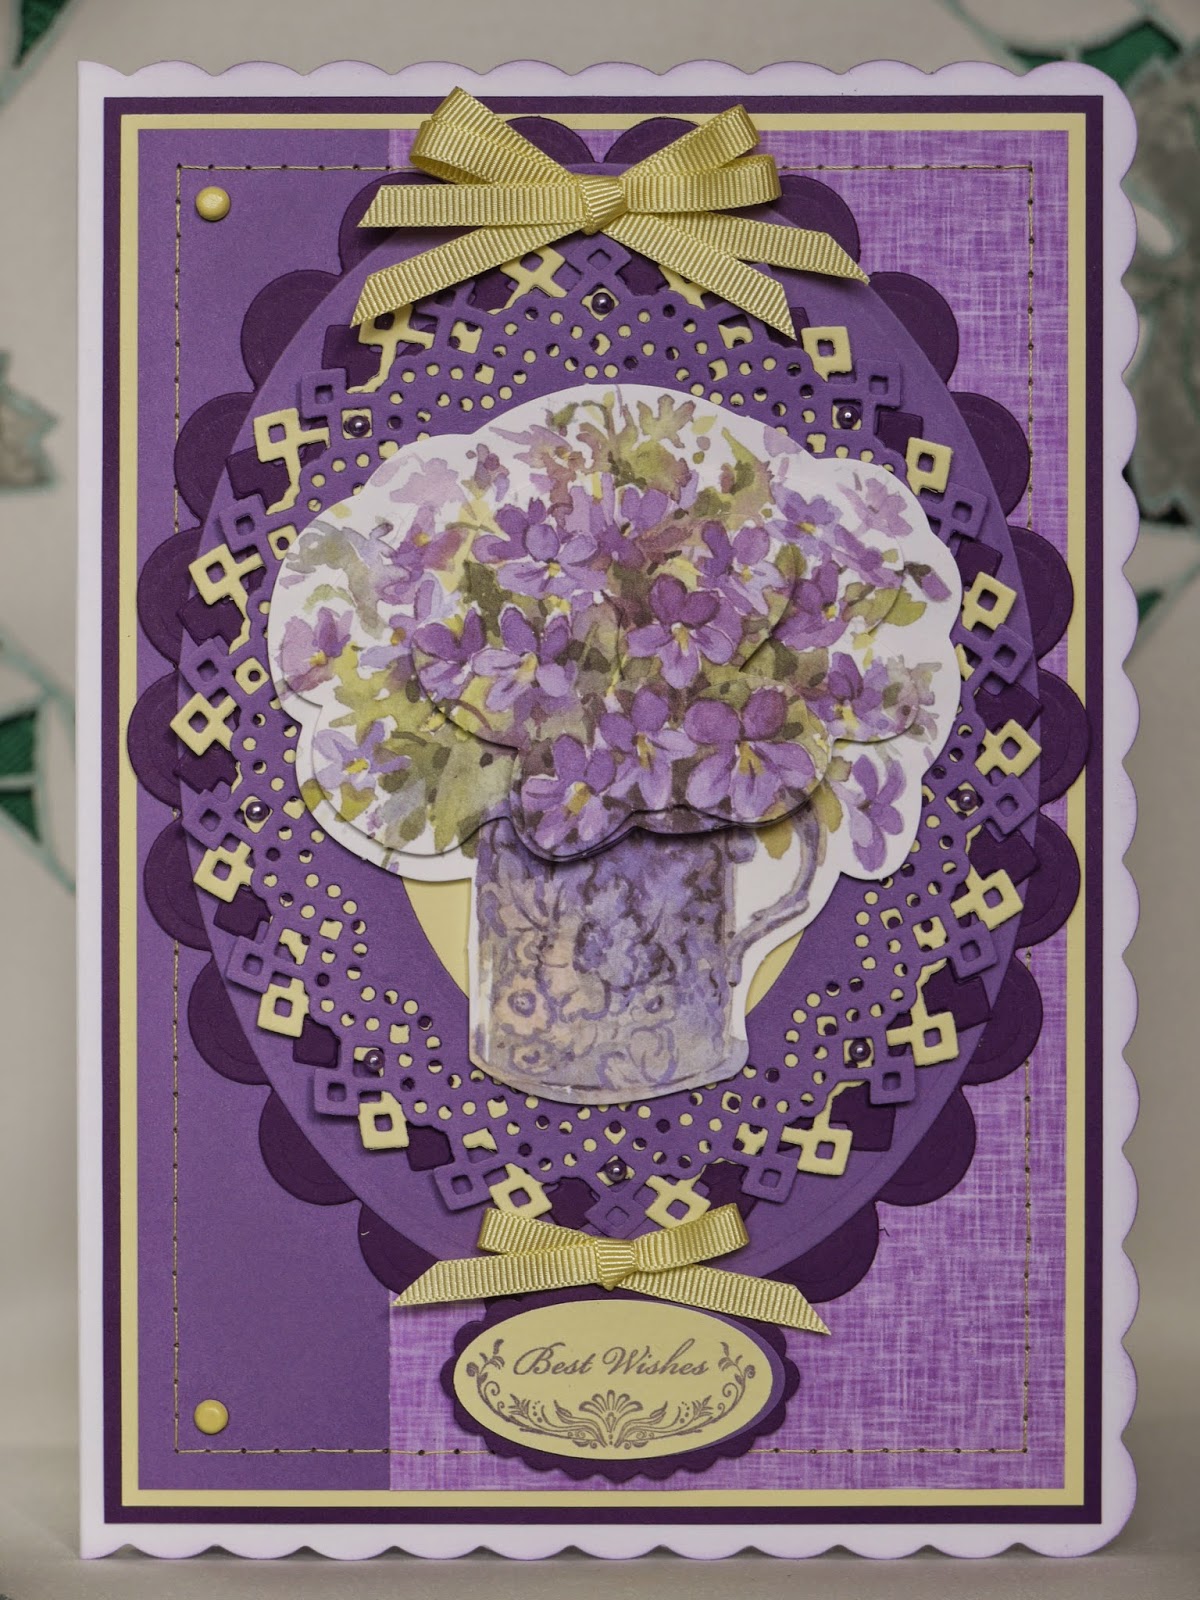
Back in October Mum and I had a trip to the Hobbycraft Fair in Glasgow.  Although I'd been a couple of times before this was Mum's first visit and gave her the opportunity to see lots of craft items first hand.  The day before we set off we'd been watching sets of Tonic dies being demonstrated on Create and Craft and these were one of our purchases in Glasgow.  My first use of them was on this birthday card for an Auntie to create the layers behind the decoupage along with layers cut using plain and scalloped Spellbinders grand nestabilities dies.


The decoupage came from a Create and Craft card kit which then was the inspiration for the colours of the papers and embellishments.  The first purple and lemon layers were cut using one of the lacy dies in the Diamond Swing Oval Tonic set and then layered together offset with a darker purple layer cut using one of the framing dies.  The centre of the purple lacy layer was cut out using a Spellbinders oval die so that the lemon layer showed from underneath and made a frame for the decoupage to sit in. 


Purple and lemon card were also used to layer up the backing panel for the topper and the patterned paper was printed from the backing paper section of Joanna Sheen's Secret Garden CD.  A Stampin' up stamp and purple Encore metallic ink was used to stamp the sentiment and then it was punched and layered using their plain and scalloped oval punches.


Lemon grosgrain ribbon, lemon brads, a yellow stitched border and purple self adhesive pearls were the added embellishments to this card.

On the day Mum was due to fly home she was really concerned that, with all the craft shopping we'd done locally and at the Fair, her suitcase was going to be over the weight allowance and she didn't relax until it had gone through the check-in unquestioned.  Below is a photo of Elaine with her Granny just before we set off for the airport.  Instead of sitting slouched back in the sofa they both decided to sit on the edge and then Mum suddenly said, "Chest out, shoulders back." which they both did and I giggled which is why there is a shake in the photo.  Such a shame as it's a good one of them both and caught a funny moment.


Here's one without the shakes.


Thanks for reading today
Liz xxx

Monday, 21 April 2014

Rolled Roses Meets Stitched Flowers for Mother's Day

One of my favourite sets of dies is the Marianne English Rose one but at the beginning of this year I came across her stitching ones and have been stitching lots of these flowers and leaves ever since.  For Mothers Day I put the two together and made a floral wreath for the front of the card.  This design was inspired by the floral wreaths I've seen made using kits from Craftworks Cards.


The flower embellishments were made using Marianne stitching dies, layered flower dies and English Rose die along with an X-cut small flower punch and one inch circles punched, cut and rolled like the roses.  The paler blue rolled roses were sponged with Encore blue metallic ink to create shading and on top of this a Sakura clear glitter gel pen was used to leave a dew effect.  The wreath was built on to circle layers using card in the same colours as used for the flowers and then attached to the front of the card using 3D foam.  The sentiment in the middle was printed from the computer.


The patterned papers used on this card were from Papermania's Parisienne Collection which is a lovely set of papers.  They were layered on to coloured card matching those used for the flowers.  A stitched border was added around the patterned papers to add an extra frame and to link with the stitching on the flowers.


A ribbon wrap and bow, gold brads, peel-offs and self adhesive pearls were the added embellishments for this card.

Using the same set of papers and card a matching card was made for Ian and Elaine to send their Granny.


This card uses the stitched flowers and layered flower die cuts again along with an older set of Marianne Ribbon Flowers die cuts layered behind.  The centres of the flowers are waste from these larger die cuts.  Spellbinders plain and scalloped squares dies were used to cut the topper layers for the flowers with navy thread wrapped around the corners to add an extra frame.  

The sentiment was printed from the computer and punched and layered using the plain and scalloped oval punches from Stampin' up.  The only added embellishments were the two self adhesive pearls on the sentiment.

Here are the two cards together.


Thank you to Donna for becoming my newest follower and for the lovely comment she left.  Hope you are all enjoying the Easter weekend and thanks for reading.
Liz xxx

I'd like to enter this card in the following challenges
The Squirrel and The Fox Challenge 68 - use a Die Cut or Punch
Hiding in My Craftroom Challenge 146 - Flowers
Crafty Catz Challenge 227 - B is for  blue card and papers/bow/brad
As you like it Challenge - Favourite Style of Stitching Real or Faux and Why.  I prefer real stitching as it adds texture to a project and I also enjoy matching colours of thread to the card or papers used.
Crafty Ribbons Challenge 85 - Anything Goes with Ribbon
Delightful Challenges - Bloom - add a flower
Moving Along With The Times Challenge - A card containing the word Happy
Paper Crafting Journey Challenge - For that Special Lady
Crafting With Dragonflies Challenge - Mother's Day and/or Special Lady
Crafting From The Heart Challenge 15 - Anything Goes
Crafty Cardmakers Challenge 114 - A Floral Profusion /HAND MADE FLOWERS
Perfectly Rustics Challenge 21 - 3D Flowers for Mother's Day

Friday, 18 April 2014

Easter Bits and Pieces

In the last post there were two lots of lovely Spring flowers being used as props.  These were an arrangement from Lilian, a friend I sometimes make cards for, along with a bunch of daffodils from her own garden.  Set beside the Easter boxes they made a lovely display on the coffee table.  The bright yellow and purple combination in the flowers works so well.


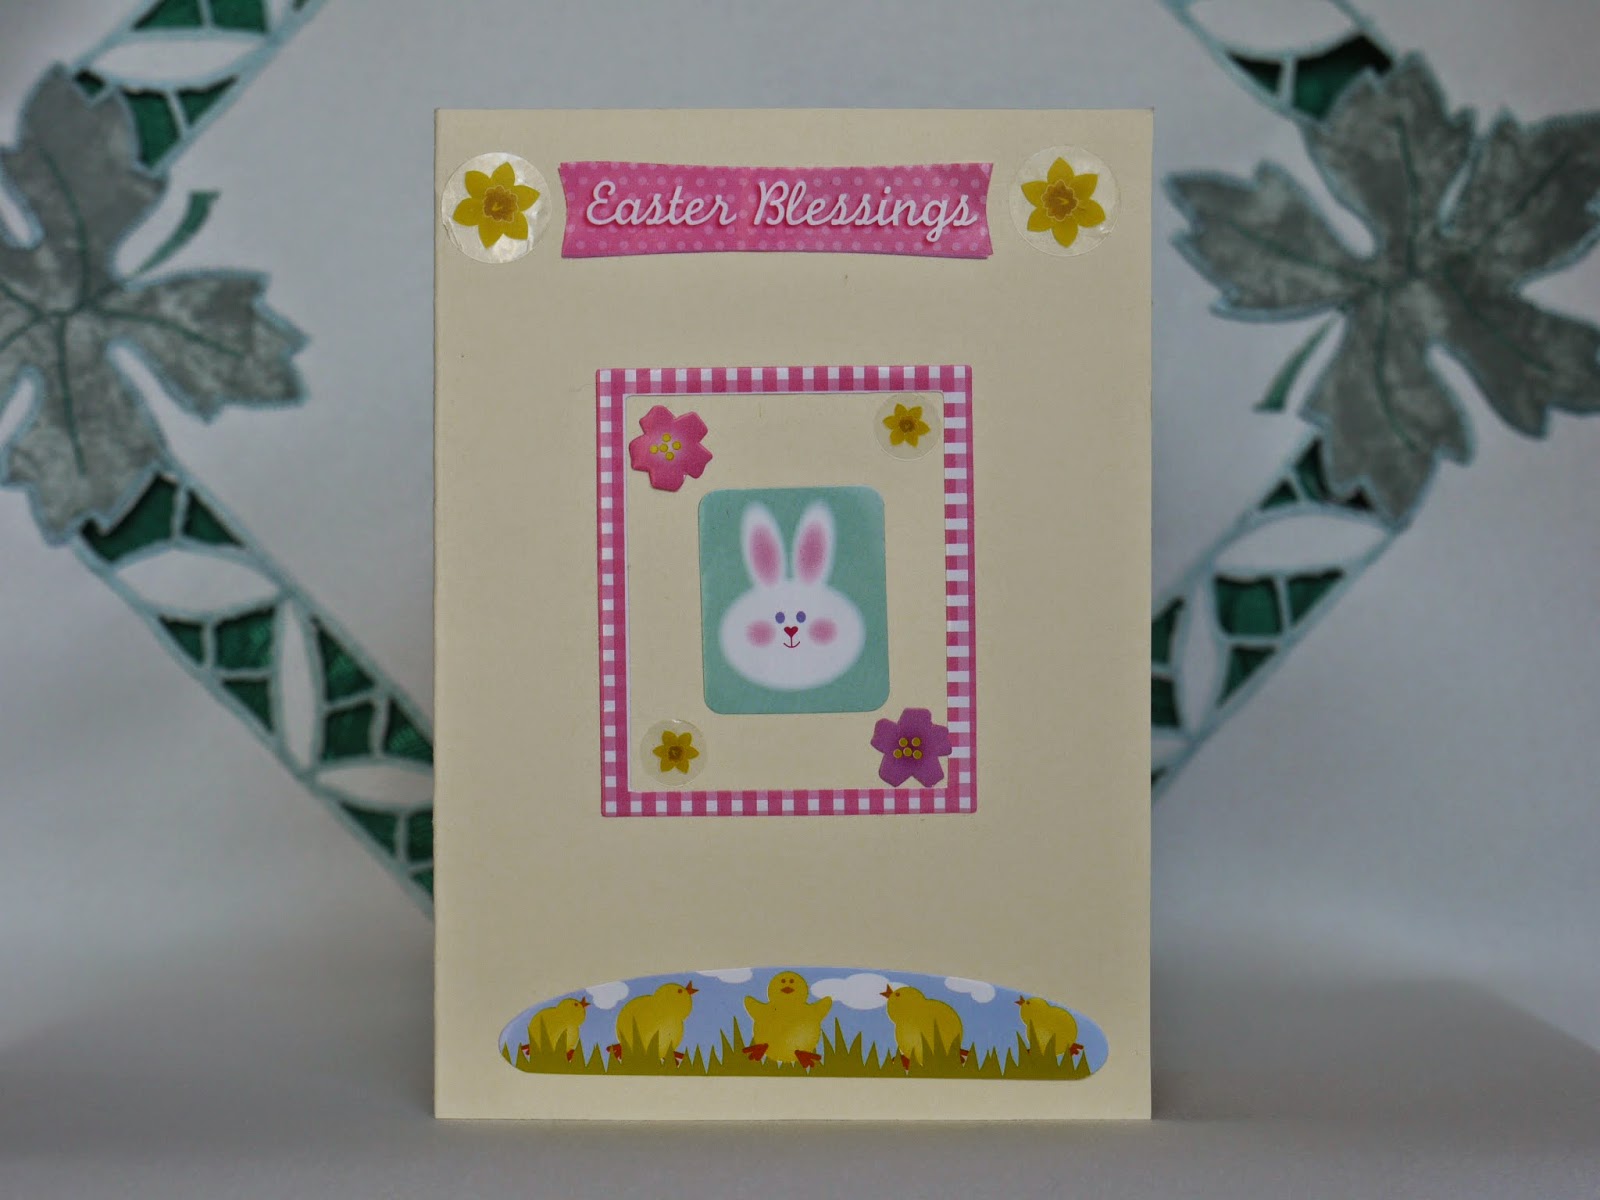
Unfortunately the daffys and the boxes have gone but instead this lovely card made by my niece to say thank you for the Easter boxes has arrived.  I think her Granny may have had a helping hand in this as I recognise the stickers as a freebie from a craft magazine as I've still got them in my sticker box. 


I've said that the origami box making addiction has spread through the crafting groups and below is a picture of one which Carol was making during our craft session on Tuesday.  I really like how she's alternated the two colours of card to make the bows and then the paper flower sits perfectly in the middle.  This box, full of chocolate Easter goodies, is off to Glasgow with her as she's donating it as a prize at their Stampin' up away weekend.  I'm looking forward to Tuesday to hear what they've been getting up to this weekend and to get inspiration from the shoebox swaps she brings back.


I hope you all have a lovely Easter weekend and don't eat too much chocolate.

Thanks for reading
Liz xxx

Wednesday, 16 April 2014

Easter Boxes

The box making addiction continued with these Easter themed boxes I made for my niece and nephew.  These boxes are so easy to theme and adapt to any occasion using different papers and embellishments.  Click on this link to take you to Card Making Magic's blog to find excellent video tutorials on how to make the origami box bases and lids. 


The bases for these boxes were made from 12"x 12" double sided patterned paper from Stampin' up and the sides were decorated with bows made from Sue Wilson's Classic 3D Bow dies from the Finishing Touches Collection.  This is a lovely set of dies and cut and emboss really crisply.  The bows on these boxes were flattened with little ribbon bows added on top which were from the Papermania Sunshine Capsule Collection by Tina Higgins.  The ribbon handles on top were also from the same collection.

The green version is for Angus.


The lacey edges on the flaps were made using a Stampin' up border punch and little floral stickers were added down the middle of each flap.  This was to camouflage where a fold in the paper split because I'd used too much pressure when creasing the folds.  The little stickers were bought from Asda many moons ago when I first started crafting.

The yellow version is for Leanne.


Different shades of card were used for the layers on the lids, the lining layers inside the boxes and to cover the bases of the boxes.  Nestabilities and the first die from the Grand Nestabilities Labels 1 sets of dies from Spellbinders were used to cut these layers. 

The chickens and shredded paper decorating the lid of the box were bought from Tesco and the only other added embellishments were self adhesive pearls on the peaks of the lid.

These were great fun to make and have been delivered full of Easter chocolate goodies with a little spending money hidden underneath.

Thanks for reading today
Liz xx

I'd like to enter these in the following challenges
Really Reasonable Ribbon Challenge - 93 - Monochromatic and Ribbon Theme
Creative Card Crew Challenge 59 - Spring
Going Grey with Scrap-Creations Challenge - Easter
Oldie But a Goodie Challenge - It's Easter (flower stickers)
Papertake Weekly Challenge - It's Easter
Bunny Zoe's Crafts March Challenge - Monochrome
Crafting From The Heart Challenge 14 - Anything Goes/Use Yellow 
Craft Your Passion Challenge 209 - Bunnies,Chicks and Eggs
Created With Love Challenge 79 - Easter
Dream Valley Challenge 79 - Easter
That Craft Place Challenge - Anything Goes/Easter
Alphabet Challenge - E for Easter
Craft for the Craic April Challenge - Something for Easter or Spring
Hobbybook Design Challenge - Easter
The Little Red Wagon Challenge - Easter
The Paper Shelter Challenge 154 -Spring is Here

Tuesday, 15 April 2014

Left Over Bits

Yesterday's post was about an origami box where the base was made with one sheet of 12"x 12" paper and a matching card.  Although the box only took one sheet another sheet in the same design was used to cut layers for decorating the box and card.  After making those there were still some bits over so they were used to cut flowers and matting layers for this card which was for a sister-in-law's birthday.


As well as using up the left over patterned paper it was another chance to make some more of those layered flowers using a mixture of Marianne ribbon, stitching and flower dies with Card Candi for the centres.


The flowers are layered on to squares cut using Spellbinders scalloped and plain squares with thread wrapped around the corners to add an extra frame.  This thread was also used to add a stitched border to the layer behind.


The sentiment was stamped using a Stampin' up stamp and their Rich Razzleberry ink and then punched and layered using their plain and scalloped oval punches.  A bow using Rich Razzleberry grosgrain ribbon was added above.


Below is a picture of the box and two cards made using the two sheets of patterned paper.


Thanks for reading today
Liz xx

I'd like to enter this card in the following challenges
Crafty Cardmakers and More Challenge 114 - Floral Profusion
Penny's Challenge 172 - Flower Power
Crafty Ribbons Challenge 84 - Flower Power

Monday, 14 April 2014

Origami Box

At one of our monthly meets earlier this year Sandra brought along boxes she'd made where the base had been constructed from one sheet of 12"x 12" paper with a decorated lid added on top.  We'd all brought our own projects to work on that day but on seeing Sandra's boxes it was down tools and Janet brought out her bag of papers from Costco, which a few of us bought and which seems never ending, and her lap top so that we could follow the video tutorial.  Here's the link to the tutorial on Card Making Magic's blog as I'm sure some of you will want to try this but be aware that it is addictive.  The instructions are clear to follow and here's my completed box after decoration.


Decorating the lid gave the opportunity to make some rolled roses again using one of my favourite dies, the Marianne English Rose die, along with leaves punched using an X-cut leaf embossing punch.  The other flowers were punched circles cut and rolled just like the roses to make buds and paper roses from Wild Orchid Crafts.  A few self adhesive pearls form Hobby House and Rich Razzleberry and Very Vanilla grosgrain ribbon from Stampin' up were the other embellishments.

Rich Razzleberry and cream card were used for the layers on the lid, the lining layers inside the box and to cover the base of the box.  Nestabilities and the first die from the Grand Nestabilities Labels 1 sets of dies from Spellbinders were used to cut these layers.  The lace edges on the triangle flaps were made using a Stamping up border punch.  To cover the base on boxes I've made since this one I've used the first die from the Grand Nestabilities set which is the next size up.


Unfortunately one of our crafting buddies couldn't make it to the session that day due to health problems so once the box was finished I decided I'd give it to her along with a get well card decorated to match the lid of the box.


Here are the two together.


Fortunately Norma was well enough to come along to our April meet on Saturday and I was able to pass these on to her with the box full of home made tablet.  Not the kind of tablet the Doctor would prescribe but a little treat to help it go down.

If you take time to have a look at the tutorial I think you'll be surprised at how the base is made.  When I took this finished box along to show our Tuesday craft group at Carol's there was the same reaction as we'd had on seeing Sandra's boxes and it was down tools and have a go and a few of us have gone on to make more.  Rhona is busy making and decorating boxes to donate to a local fundraising sale for a group where she goes along to do craft work voluntarily. 

Hope you've enjoyed seeing something a bit different today and that you'll have a go too.
Liz xx

I'd like to enter these in the following challenges